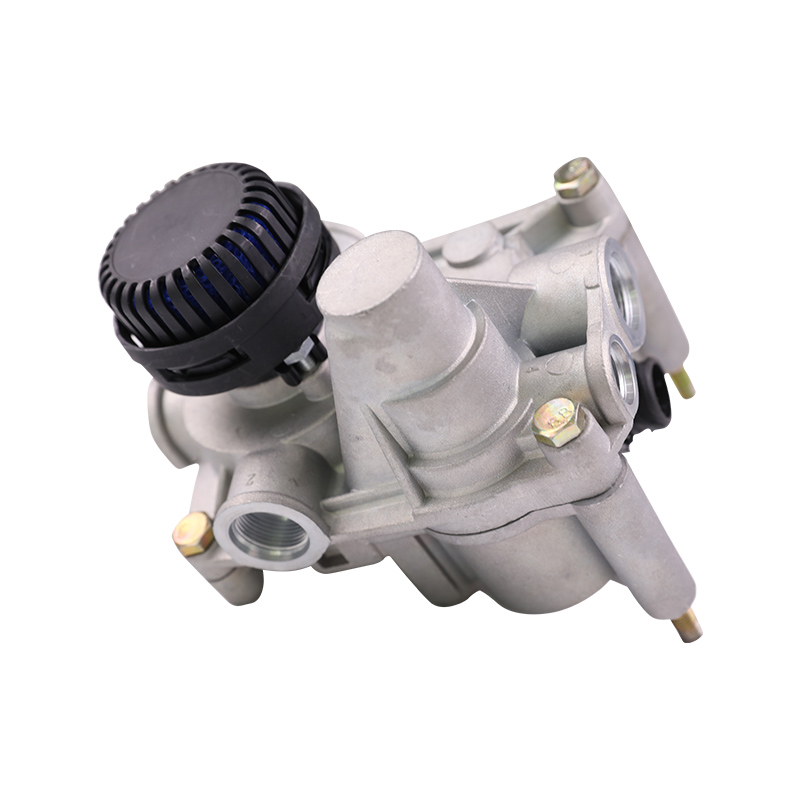
Truck gearbox valves play a critical role in the operation of a vehicle’s transmission system. These valves control the flow and pressure of hydraulic fluid, ensuring that gear shifts are smooth and precise. Over time, gearbox valves can wear out or malfunction, leading to issues like rough shifting or transmission failure. Replacing the gearbox valve is an essential maintenance task that requires careful attention to detail. In this guide, we’ll go over the proper installation steps to ensure a smooth and successful gearbox valve replacement.
1. Preparation and Tool Check
Before beginning the gearbox valve replacement, it’s important to gather the necessary tools and components. Common tools required for the job include wrenches, screwdrivers, torque wrench, oil pan, cleaning cloths, hydraulic fluid, sealant, and specialized tools. Additionally, ensure that the replacement valve is compatible with your truck’s transmission model to avoid installation issues.
2. Disconnecting Power and Hydraulic Systems
Before any disassembly work begins, disconnect the truck’s battery negative terminal to prevent electrical short circuits or any unwanted power issues. Next, shut off the hydraulic system in the gearbox to release any pressure in the oil lines. Drain the transmission fluid by opening the oil pan and allowing the fluid to fully drain out. This step prevents any hydraulic fluid leakage during the removal of the old valve and ensures safety throughout the procedure.
3. Removing the Old Gearbox Valve
The removal of the old gearbox valve is one of the most critical steps. Use a wrench to carefully remove the screws or bolts securing the valve in place. Avoid using excessive force to prevent damaging surrounding components. After removal, inspect the old valve and its connections to check for wear or damage. If any components are found to be faulty, they should be replaced as well.
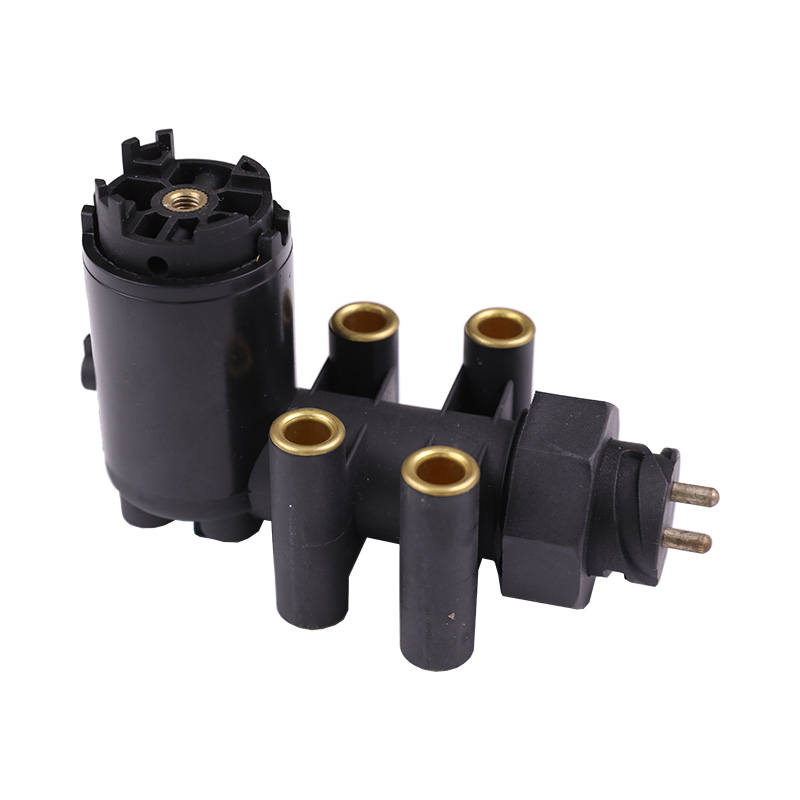
For electronic gearbox valves, take special care when disconnecting the wiring. Mark the locations of the wires and ensure that each connection is properly labeled for reinstallation.
4. Cleaning and Inspection
Before installing the new valve, thoroughly clean the valve mounting area. Use a lint-free cloth or special cleaning agents to remove dirt, debris, and any metal particles that could affect the performance of the new valve. Be cautious not to let any contaminants enter the gearbox during the cleaning process.
At this point, also inspect the transmission oil lines and seals for signs of wear or deterioration. Replace any worn seals, O-rings, or other parts to ensure a tight, leak-free fit. Damaged seals can lead to oil leaks and affect the gearbox's performance.
5. Installing the New Gearbox Valve
With the mounting surface cleaned and inspected, proceed to install the new gearbox valve. Ensure that the valve is properly aligned with the transmission mounting points and that it fits securely in place. Tighten the mounting bolts evenly using a torque wrench to the manufacturer’s recommended specifications. Over-tightening or under-tightening can affect the valve’s performance or cause damage to surrounding parts.
If you are installing an electronic valve, pay close attention to the wiring connections. Reconnect the wires according to the markings made during disassembly. Ensure that each connection is firm, properly insulated, and free from corrosion to avoid electrical issues in the future.
6. Checking for Seal Integrity and Tightness
After the valve is installed, it is crucial to check the seal integrity and ensure that all fasteners are tightly secured. Proper sealing is essential, especially in automatic transmissions, as leaks can compromise fluid pressure and cause shifting problems. Perform a visual inspection of the valve and surrounding areas to ensure that there are no visible gaps or signs of oil leakage.
Additionally, recheck the tightness of all screws and bolts to prevent any loosening during operation, which could lead to valve misalignment or leaks.
7. Refilling Fluid and System Check
Once the valve is securely installed, refill the transmission with fresh, manufacturer-approved hydraulic fluid. Ensure that the fluid level is correct and that you are using the appropriate fluid type for your truck’s model. Slowly add the fluid and observe the flow to ensure no blockages or leaks are present.
Start the truck’s engine and cycle through the gears slowly to test the gearbox’s response. Check for smooth gear shifts, no unusual noise, and proper fluid pressure. If the valve is working correctly, shifting should be smooth and responsive without any hesitation or jerking motions.
8. Testing and Road Test
Finally, conduct a road test to ensure the new gearbox valve is functioning as intended. During the test drive, pay attention to the gear shifting performance, including smoothness, noise, and any signs of abnormal operation. If any issues arise, stop the vehicle and inspect the installation again, checking for issues with fluid levels, connections, or the valve itself.
By following these detailed steps, you can ensure that the new gearbox valve is installed properly and your truck’s transmission will continue to perform at its best. Remember, the gearbox valve is a vital component of your truck’s transmission system, and any mistakes during installation can lead to costly repairs or damage.