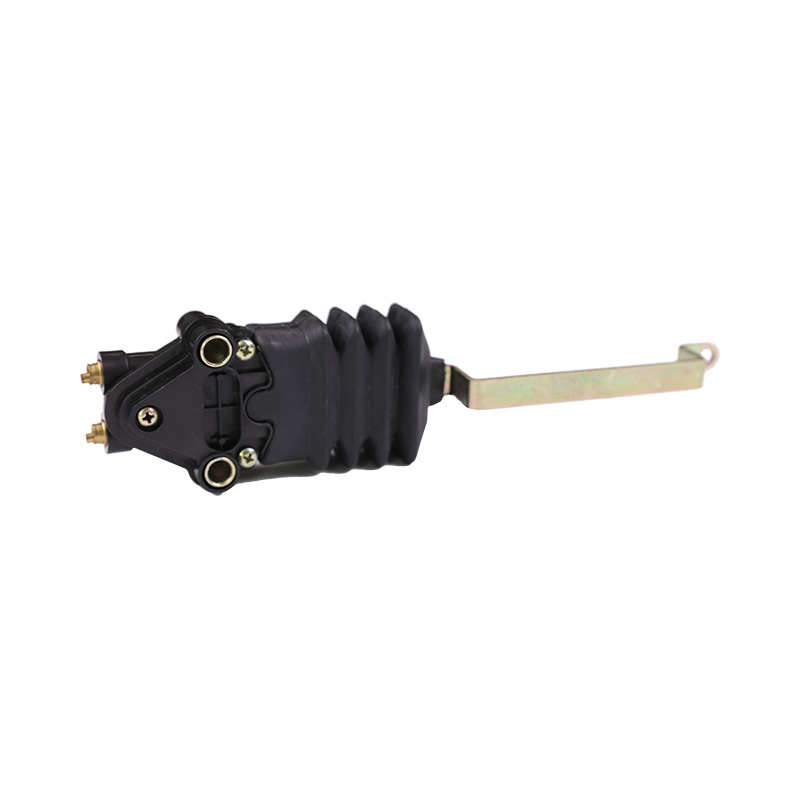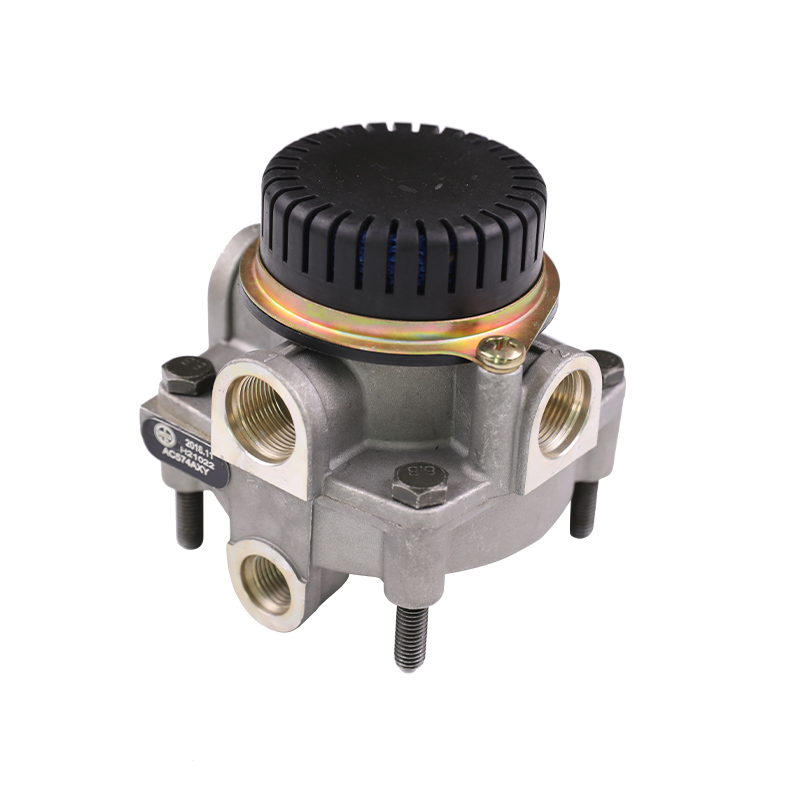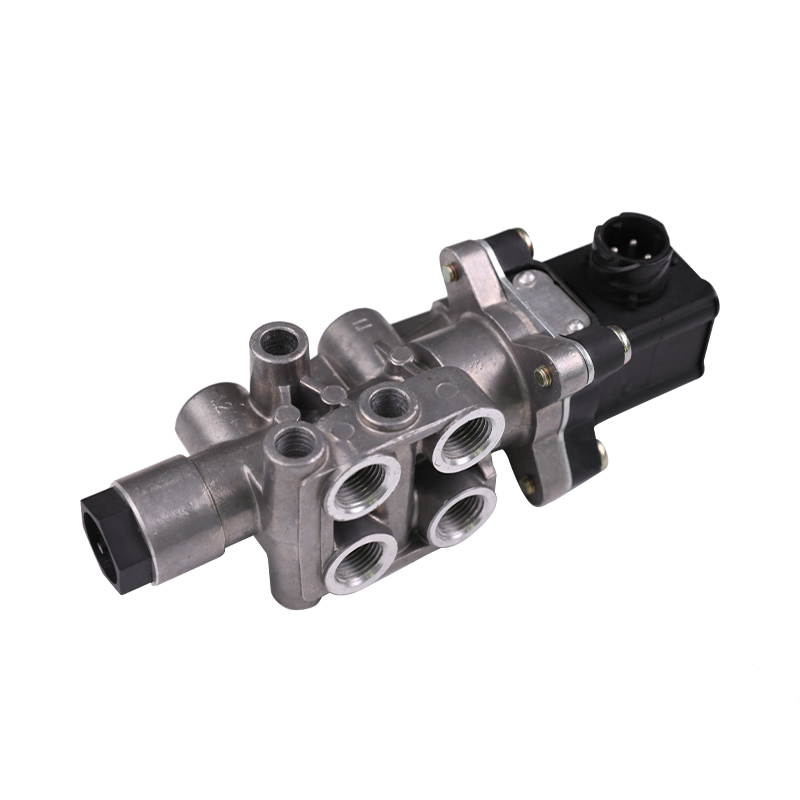
Replacing a foot brake valve is a job most experienced truck and trailer technicians finish in under an hour, provided the air system is fully depressurized, the replacement matches the old unit's port layout, and every connection is leak-tested before the vehicle returns to service. This guide covers how to replace a foot brake valve from start to finish, written from a commercial air brake manufacturer's perspective: recognizing a failing valve, gathering the right tools and parts, removing the old treadle valve, installing the new unit, and verifying brake performance afterward.
The reason to be methodical is simple. A delivery line swapped between the primary and secondary circuits can cause brake imbalance or a total loss of one braking circuit, so every step below explains why, not just what to do.
How to Tell Your Foot Brake Valve Needs Replacement
Before ordering parts, confirm that the valve itself is at fault. Leaking brake chambers, a weak compressor, and damaged air lines produce similar symptoms. These signs point specifically to the foot brake valve:
- Spongy, sticky, or slow-returning brake pedal
- Continuous air hiss while the pedal is held down
- Delayed or uneven brake application between axles
- Erratic low-pressure warning light or buzzer
- Noticeably shorter or longer pedal travel than normal
- Vehicle pulling to one side under braking on a flat road
A quick on-bay test separates a valve problem from a system leak. Build the system to normal pressure, shut the engine off, press and hold the brake pedal while watching the dash gauge. If pressure keeps falling, there is a leak in the service brake circuit. Check brake chambers, slack adjusters, and line fittings first before condemning the valve. For a refresher on the internal air paths, see how a foot brake valve works in a truck air brake system.
Once you confirm a persistent leak at the valve, or a pedal that no longer moves smoothly through its range, schedule the replacement. Do not road-test a truck when the source of an air leak is still unknown.
Tools and Parts You Will Need Before You Start
Gather everything before you open the system. Hunting for a missing wrench while lines are disconnected is how seals get damaged and ports get mixed up.
Tools You Will Need
- Socket set with extensions
- Flare-nut wrenches sized for the line fittings
- Air line removal pliers
- Colored marker tape and a permanent marker
- O-ring-safe seal lubricant
- Shop rags, fine sandpaper, and thread sealant
- Safety glasses and work gloves
Parts and Selection Checks
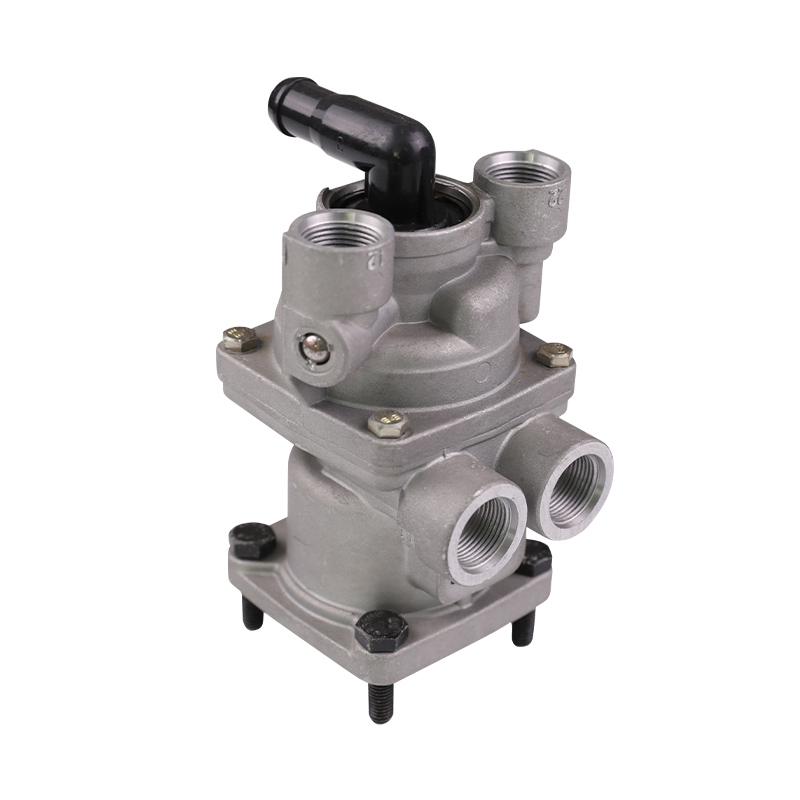
Your parts list consists of a new foot brake valve assembly or a rebuild kit, new O-rings and sealing washers for every disconnected line, and thread sealant if the fittings use tapered pipe threads. Record the OEM part number stamped on the old valve body, then match that number, the port count, the port orientation, and the mounting hole pattern against an OEM replacement valve or a quality aftermarket equivalent.
Port orientation causes the most misorders. A valve with side-facing delivery ports will not suit a cab layout that routes lines downward, and bending the lines to force a fit is never acceptable. This overview of different types of truck air brake valves explains how port arrangements vary across common valve designs.
Confirm that the replacement meets FMVSS 121 requirements and comes from a manufacturer with a recognized quality management system, such as IATF 16949:2016 certification. When you are ready to source the part, start with factory-tested replacement foot brake valves that have been verified against OEM port layouts before shipment.
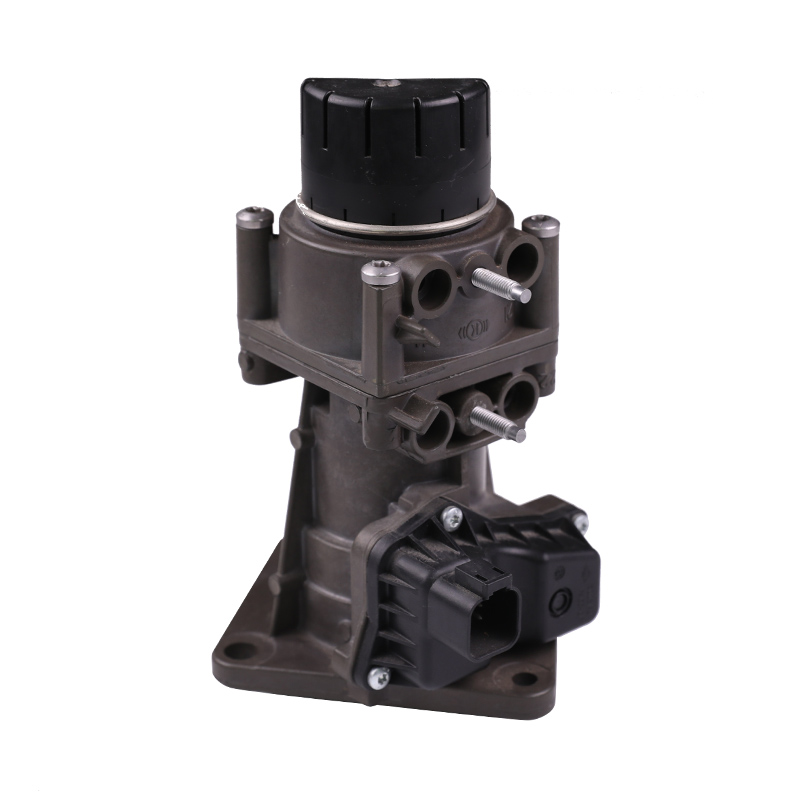
How to Replace a Foot Brake Valve in Five Steps
The procedure below assumes a dual-circuit compressed air braking system, standard on commercial trucks and trailers. Sequence matters: depressurize first, identify every line before disconnecting, and keep the old valve until the new one is installed. Experienced technicians typically finish in 45 to 60 minutes; first-timers should allow one and a half to two hours.
Step 1: Park, Chock, and Depressurize the Air System
Park on a flat surface, set the parking brake, chock both sides of at least one wheel, and hang a do-not-operate tag in the cab. Turn the engine off and remove the keys so no one can start the vehicle while you work near the pedal linkage.
Depressurize completely: with the engine off, pump the brake pedal until the dash gauge reads zero, then open the drain valves at the bottom of each reservoir and leave them open. This releases stored pressure and drains moisture in one step.
Do not disconnect any fitting while the system still shows pressure. Even 20 to 30 psi of residual air can pop a line loose with enough force to injure your hands or face. When in doubt, crack the first connection slowly and listen for escaping air.
Step 2: Locate the Foot Brake Valve and Identify Its Connections
The foot brake valve, also called the treadle valve, sits under the cab floor directly below the brake pedal. It is usually bolted to the floor panel or a pedal support bracket.
Before loosening anything, identify every port. A dual-circuit valve typically has one supply port, two delivery ports (primary and secondary), and one exhaust port. Take a photo of the mounting area and of each port, then label every line with colored marker tape and note whether it runs to the front or rear axle. The two delivery circuits look identical; a crossed pair shows up as uneven braking on the road.
Step 3: Disconnect Air Lines and Remove the Old Valve
Disconnect the lines in order of easiest access. Use flare-nut wrenches to avoid rounding fitting nuts, and pull each line straight out of its fitting. If a fitting is stuck, apply penetrating oil and rotate it gently back and forth to break it free. Never use pliers on a brass fitting; the jaws will deform the nut and make removal harder.
With the lines freed, remove the mounting bolts. Most installations use four bolts, though some use two through-bolts or a retaining clip. Support the valve body as the last bolt comes out so it does not drop and damage the plunger or mounting ears.
Inspect the old valve's mounting surface before moving on. Rust, old sealant, or deep scratches on that face will compromise the new valve's seal. Note the direction the exhaust port faces, then keep the old unit nearby as a reference.
Step 4: Prepare the Mounting Surface and Install the New Valve
Clean the mounting surface thoroughly, removing oil, old gasket material, and loose rust. Dress light pitting flat with fine sandpaper. A machined valve body will not seal against a rough, uneven face.
Install fresh O-rings or sealing washers on every connection and apply a thin film of approved seal lubricant. Lubricant lets the seal slide into position instead of rolling or pinching, a common cause of immediate leaks.
Set the new valve so its ports align with the air lines in a straight run, with the exhaust port facing the same direction as the old unit. If a line must bend sharply to reach its port, stop and check the valve configuration. Tighten the mounting bolts in an alternating pattern, in two or three stages, to the manufacturer's torque specification. Uneven tightening guarantees a leak path.
Reconnect the lines in reverse order of removal, following your labels. Seat every fitting fully and tighten to specification without over-torquing. On tapered pipe threads, apply sealant to the male threads only, and keep it off the first thread so it cannot break loose inside the valve.
Step 5: Leak-Test and Verify Brake Performance
Close the reservoir drains, start the engine, and let the system build to normal pressure. Shut the engine off and watch the dash gauge for two to three minutes. A steady drop indicates a leak; a rapid drop means a significant leak that must be found before the truck moves.
Soapy water on every fitting, the valve cover, and the exhaust port pinpoints small leaks. Bubbles identify the exact spot. Re-tighten a leaking fitting slightly and test again. If bubbles appear at the valve body itself, the assembly is defective; more torque will not seal it.
Then run the functional checks. Press the pedal: travel should feel normal, and the pedal should return quickly. The brake lights should come on at the start of travel, and the exhaust should vent promptly on release. Have a second person watch the front and rear chambers extend as you apply the brake. If one axle's chambers do not move, that delivery line is likely crossed or blocked.
Finish with a low-speed test drive in a safe, clear area. Braking should feel linear, the truck should not pull, and there should be no unusual air noise. If pedal height or free travel is off, review how to properly adjust your brake foot valve before returning the vehicle to service.
Foot Brake Valve Replacement vs. Rebuild Kit: How to Decide
With the old unit on the bench, you have two options: fit a complete replacement valve or rebuild the original with a seal kit. The right choice depends mainly on the condition of the cast body.
When a Rebuild Kit Makes Sense
A rebuild kit costs less, typically 50 to 70 percent of a new assembly, and keeps the original casting, which helps with uncommon port configurations. If the body is clean and crack-free and the failure was limited to worn seals or a weak spring, a competent technician can restore normal function with a kit.
The risk is a hidden defect. The bore must be smooth; pitting destroys new seals within weeks. Every internal part must be cleaned and reassembled to spec, and the rebuilt valve needs the same leak test as a factory unit. If you lack experience with this level of teardown, this is not the job to learn on.
When Full Replacement Is the Better Call
A complete assembly eliminates the old body from the equation. The valve arrives factory-tested with fresh seals in place, and installation is a simple bolt-on job. For fleet operations, the faster installation and the removal of hidden-body risk usually justify the higher part cost. Choose a full replacement if the body is corroded, cracked, has had prior repairs, or if brake performance has been degrading for no clearly identified reason.
For commercial vehicles in revenue service, install a complete replacement when the old unit is already off the truck; labor is nearly the same and the rebuild risk disappears. Compare complete assemblies in our foot brake valve models to find the port layout that matches your truck.
| Consideration | Rebuild Kit | Complete Valve Assembly |
|---|---|---|
| Parts cost | Roughly 50 to 70 percent of a new assembly | Higher upfront cost |
| Body condition | Original casting retained; hidden corrosion can fail new seals | Factory-tested body and fresh seals |
| Best suited for | Uncommon port layouts, experienced technicians | Fleet and revenue service, aged or damaged valve bodies |
After the Replacement: Protect the Work You Just Did
A new foot brake valve will serve for years if the air system stays clean and dry. Check the air dryer desiccant, follow the reservoir drain schedule, and confirm compressor governor cutout pressure. Moisture shortens the life of every seal in the system.
Keep the old valve in a labeled box for a few weeks in case you need to reference a part number or port layout. If you have not selected the replacement yet, browse our full foot brake valve collection to compare factory-tested complete assemblies with the port configurations common on North American trucks and trailers. Keep the OEM number from the old valve handy when you order; it is the fastest way for our technical team to confirm the correct match for your cab layout.